Activate Email Center & Settings
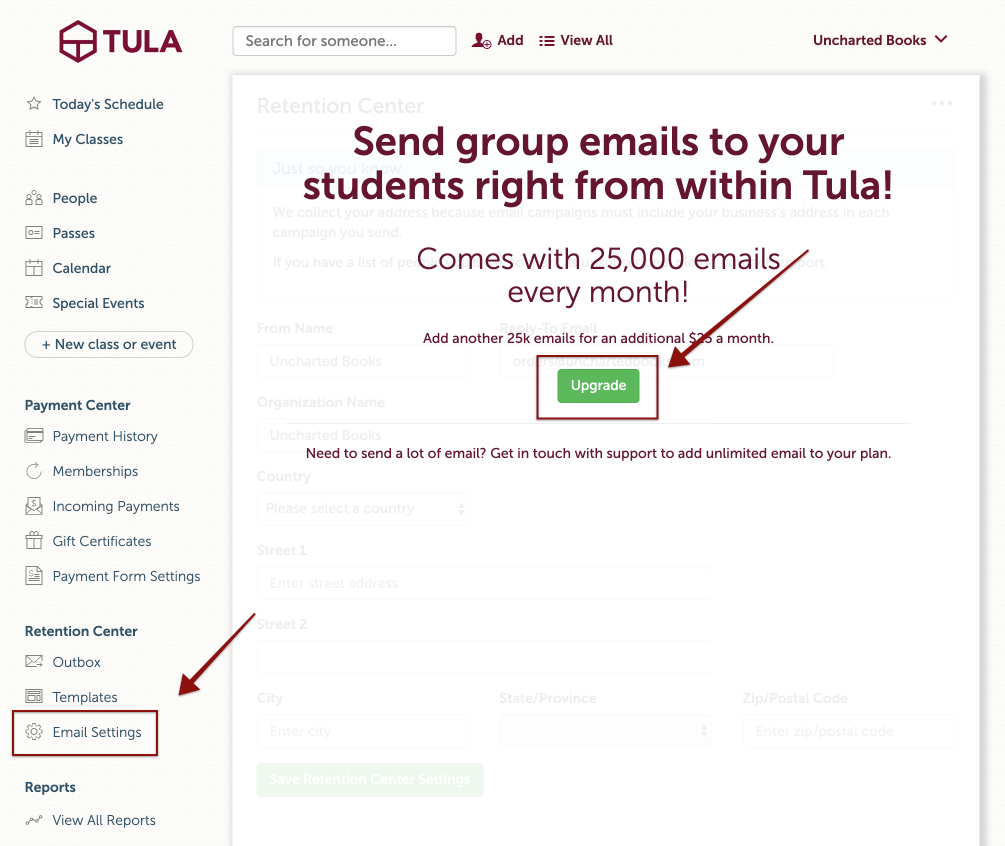
The email center comes with our premium plan or it can be added to the base plan for $25 a month.
To activate your email center, go to email settings under retention center in the left navigation. From there, click on the upgrade button to complete activation.
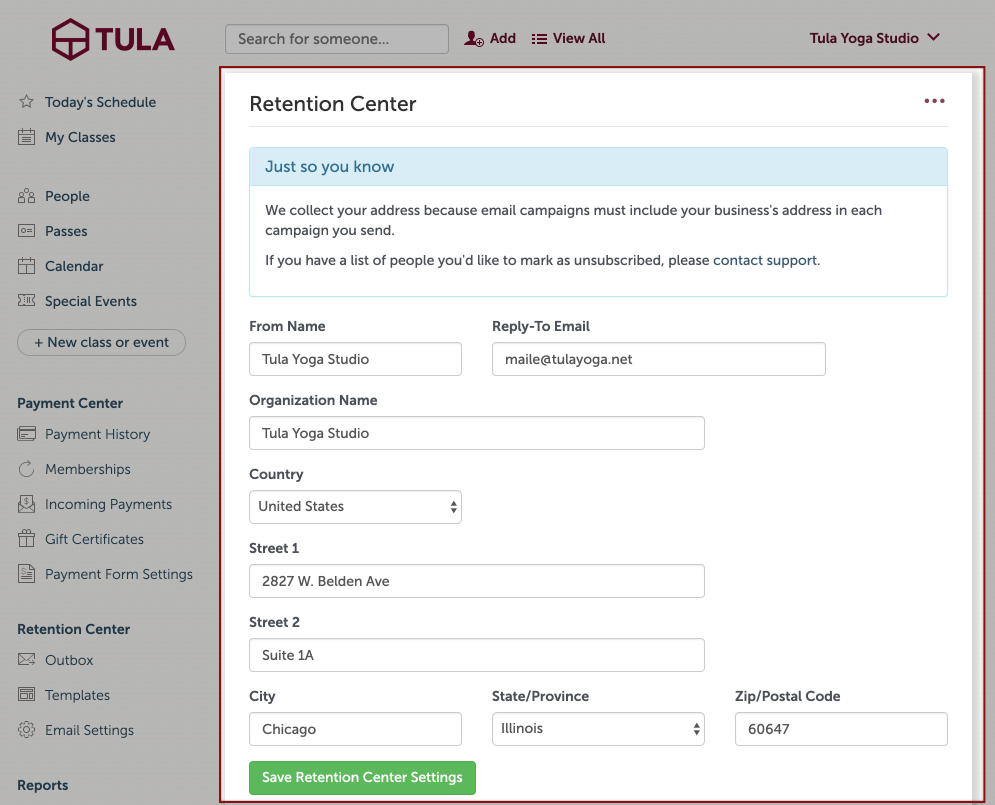
Next, Setup your email center by entering your studio info and you will be ready to send emails.
Sending Emails
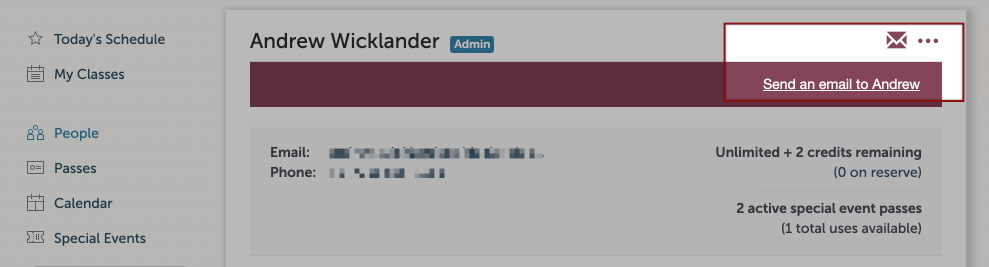
Sending emails is quick and easy. Emails can be sent from any page where you have a list of students. It can be a report, check-in list, registration list of a class or even send a one to one email from a student's profile page. Just click on the envelope icon, compose your email or use a template and send away!
To send an email, first go to the list of students or individual you want to email. From there, click on the envelope icon, compose your email and send.
Templates
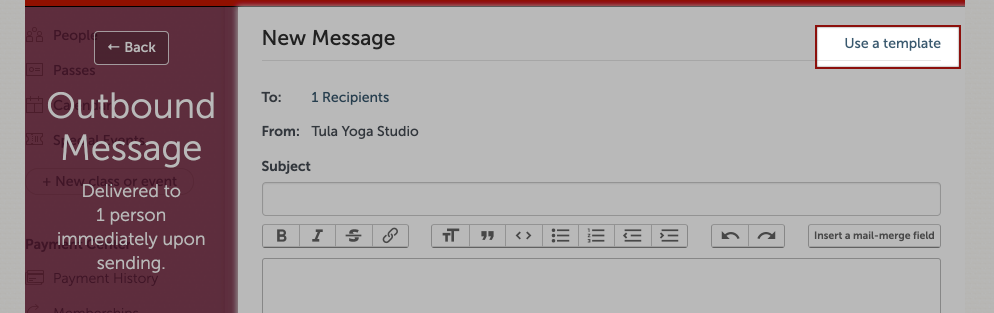
For every email you compose, you will have the option to save it as a template that you can use later.

If you want use a saved template, click on use a template when going to send an email from the email composer.
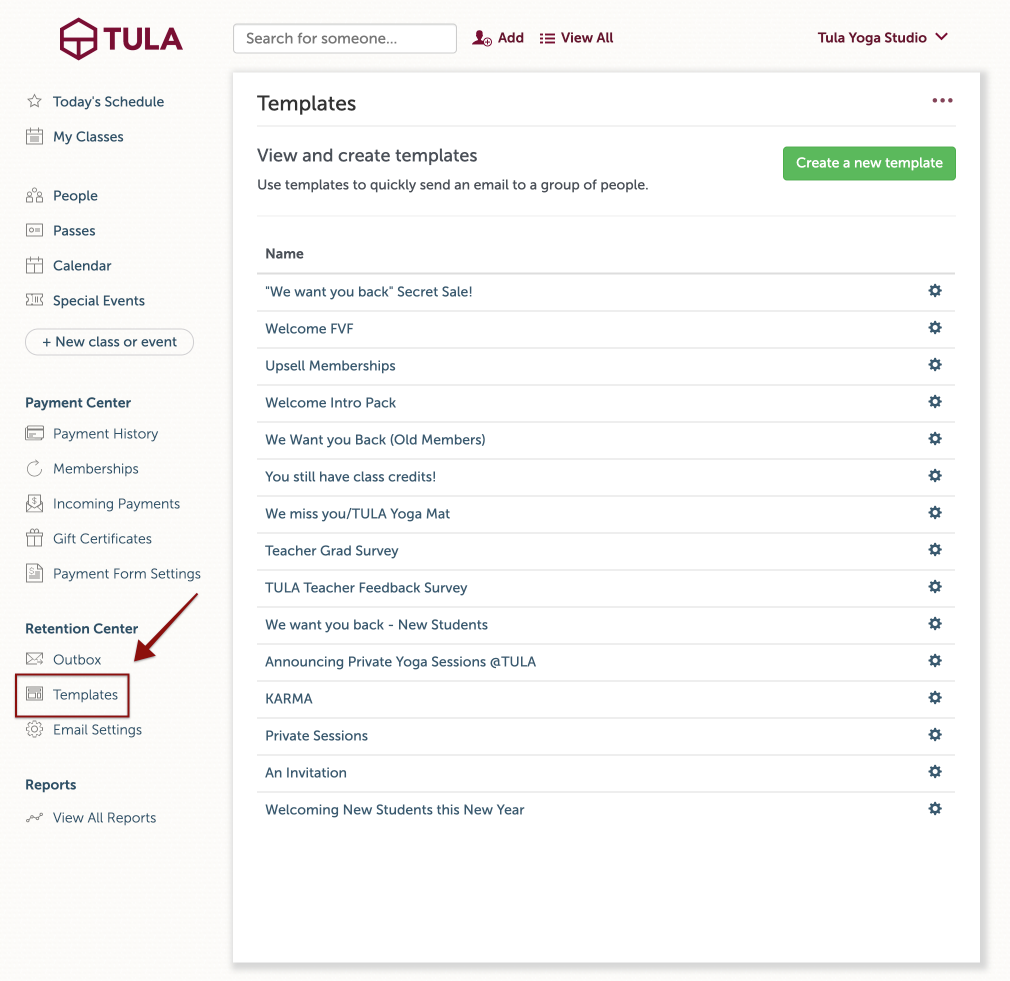
You can view/manage your templates by going to templates in the left navigation under retention center. You will be able to create, edit and delete templates.
Managing Emails
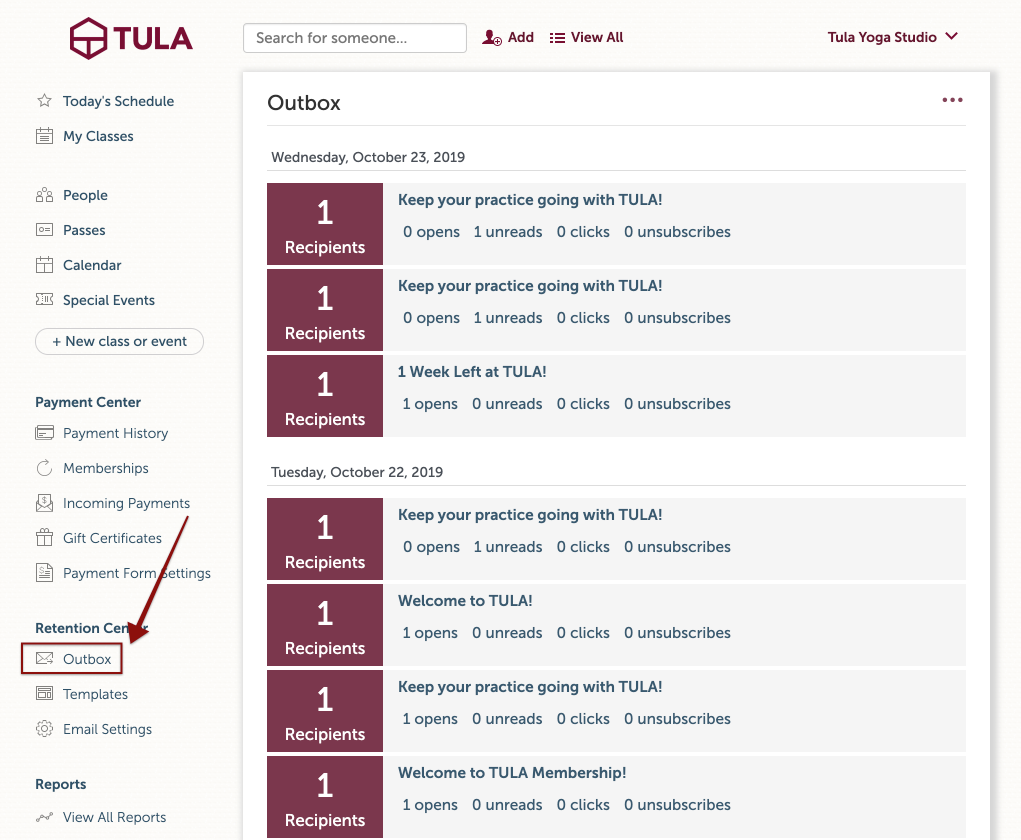
Go to your outbox for insights on how your emails are preforming.
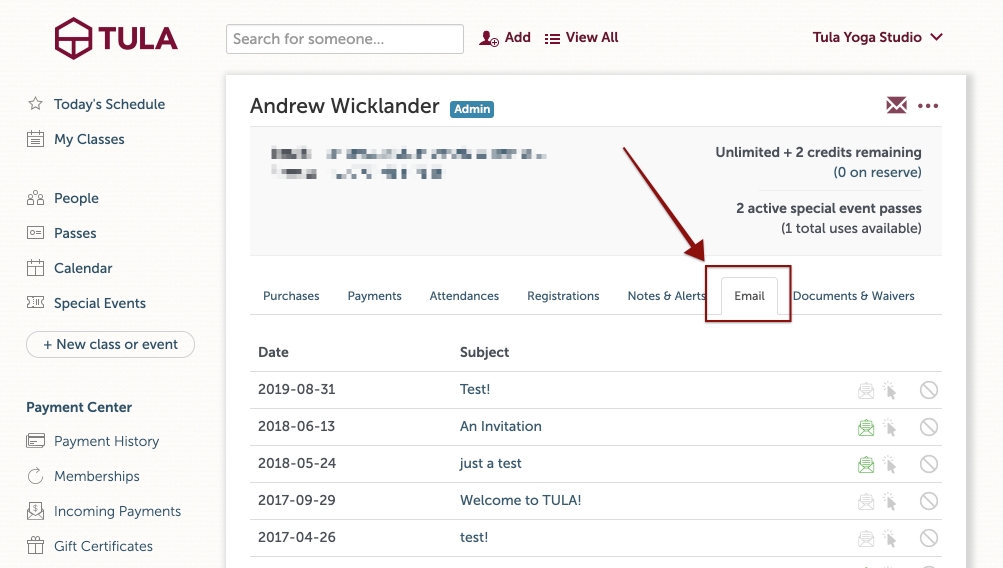
Or go to the email tab on a student's profile page to view the emails you have sent to them.